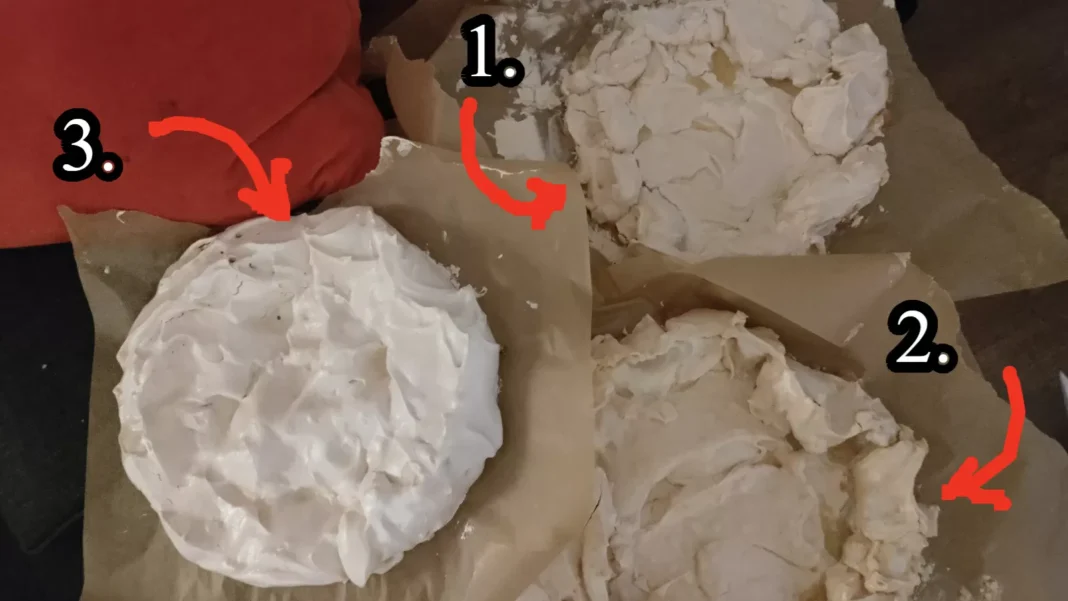
Everyone has their Achilles heel, and for me, it has always been meringue. The crispy, chewy friend of my taste buds has been my kitchen nemesis for as long as I can remember. No matter how many times I attempted to make it, my meringues always ended up with the texture of chewing gum, leaving me frustrated and defeated.
I understand that homemade meringues are meant to be a bit more toothsome than the dry, crumbly store-bought versions. But no matter what I did, I couldn’t seem to get it right. A recent attempt at making a pavlova almost broke me. I tried everything – lowering the oven temperature, beating the sugar in slowly, and even letting the base cool in the oven overnight. But nothing seemed to work.
In my moment of dessert despair, I turned to recipe developer, author, and the guru that some of my favorite bakeries rely on – Nicola Lamb. And let me tell you, her advice was a game-changer. Thanks to her, I finally produced my very first successful meringue.
So, what’s the secret? In the pavlova edition of her weekly newsletter Kitchen Projects, Nicola revealed that a weeping meringue is often due to undissolved sugar. This was a revelation for me. I had been following a recipe that instructed me to whisk the meringue mix to “stiff, glossy peaks” in just four minutes. I was afraid of overbeating it, thinking it would result in a limp and flaccid meringue. But Nicola’s advice was to keep going for at least 15 minutes on medium speed after adding the sugar.
In her baking book Sift, Nicola also mentions that it’s very hard to overbeat meringue. In fact, under-beating it can lead to poor sugar incorporation. So, forget about your meager beating times and trust in Nicola’s expertise. And here’s a pro tip from her – to check if your meringue is done, rub it in between your fingers. If you feel any grittiness, it means your sugar is not properly dissolved. This simple trick was all I needed to achieve my first successful pavlova base.
Now, you might be wondering if it really takes 15 minutes to beat the meringue. Well, Nicola recommends a 5-10 minute-long spin after adding the sugar in her book Sift, which is a little shorter. But the grit test should stay true either way. So, don’t be afraid to beat your meringue for a little longer than you’re used to. Trust me, it’s worth it.
Another helpful piece of advice I found from Recipe Tin Eats was to use cold eggs when separating the yolk from the white. Then, allow the whites to come to room temperature before beating them. This is because eggs are easier to separate when cold, but the whites don’t fluff up as well when they’re chilly. So, this is a great compromise to get the best results.
And let’s not forget the wise words of Mary Berry – a meringue cooled in the oven for as long as possible is far better than one yanked out prematurely. So, be patient and resist the temptation to take it out of the oven too soon.
In conclusion, making the perfect meringue is not as easy as it seems. But with the right tips and tricks, you can achieve that crispy, chewy texture that we all love. Thanks to Nicola Lamb’s expert advice, I finally conquered my fear of meringue and produced my first successful pavlova. So, don’t give up, keep trying, and remember to dissolve that sugar properly. Happy baking!


